If you’ve ever found yourself staring at your beautiful polygel nails, only to realize they’re growing out and looking a little… less beautiful, you’ve probably Googled “how to remove polygel nails” at some point. Trust me, I’ve been there. The first time I tried to remove my polygel nails, I was terrified of ruining my natural nails. But after some trial and error, I learned the best method to remove them safely without any damage.
Now, I’m here to share my tried-and-true method with you! Whether you’re a DIY nail enthusiast or just need to take your polygel off without visiting the salon, this guide will walk you through the process, step-by-step, so your nails stay healthy and beautiful.
What is Polygel and Why Do You Need to Know How to Remove It?
Polygel nails are a hybrid between acrylic and gel nails, offering the best of both worlds. They’re flexible, lightweight, and incredibly durable. Polygel is often used for extensions, but sometimes, removing it can feel like a challenge. Since polygel is designed to last a few weeks without chipping or breaking, it can be tough to remove if you don’t have the right tools and techniques. But don’t worry—I’ve got you covered! Here’s everything you need to know about removing polygel nails while keeping your natural nails healthy.
How to Remove Polygel Nails Safely at Home
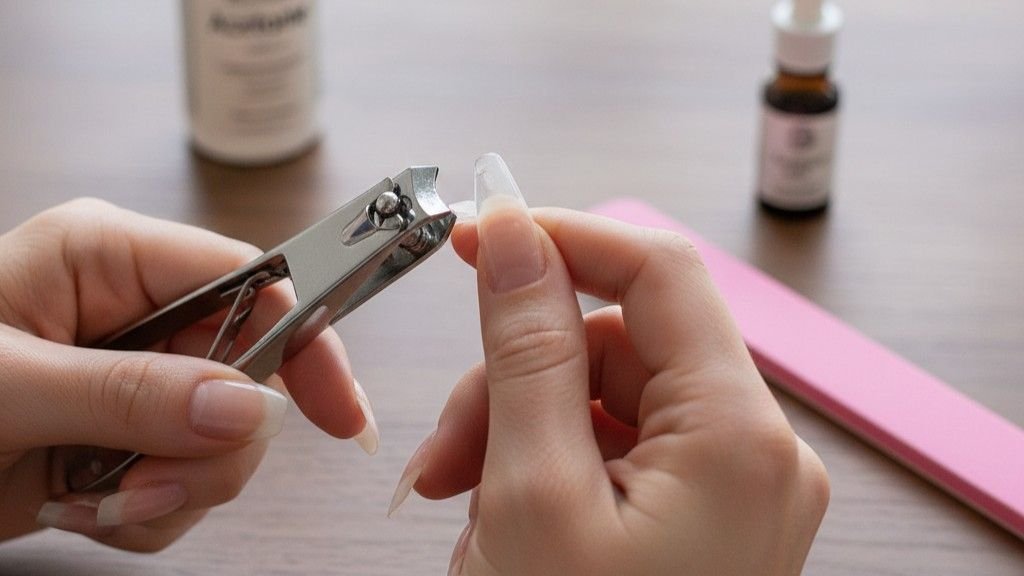
Step 1: Shorten the Length
Before you start soaking, you need to reduce the length of your polygel nails. The longer the extension, the harder it is to remove. Start by trimming the excess length using a heavy-duty nail clipper or tip cutter. Once you’ve got the length under control, grab a coarse grit file (100/120 grit) or an e-file.
Gently file down the top coat and the bulk of the polygel, but be careful not to file too aggressively. Leave a thin layer (around 5-10%) of the product to protect your natural nail bed. This helps prevent unnecessary damage during the soaking process.
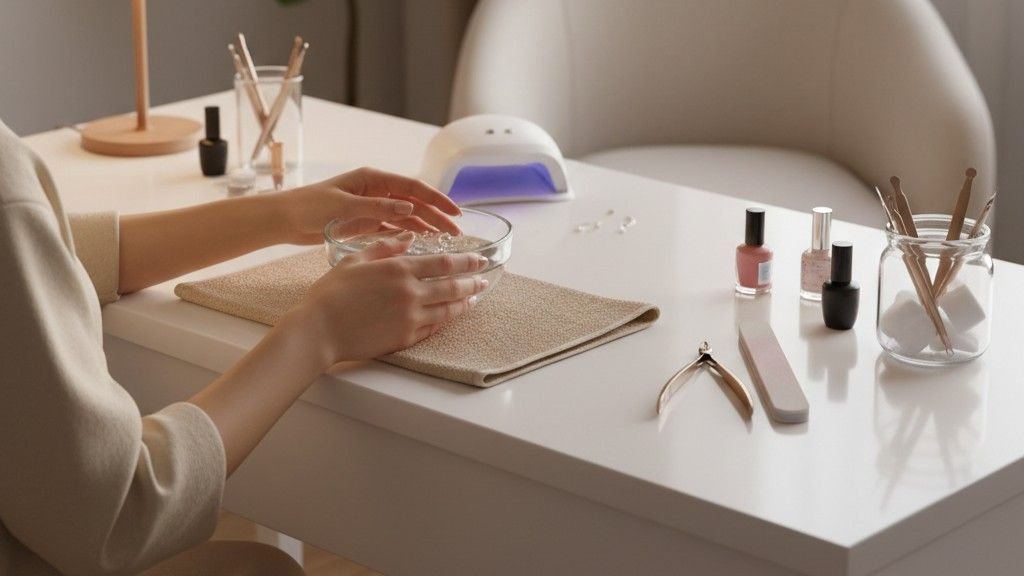
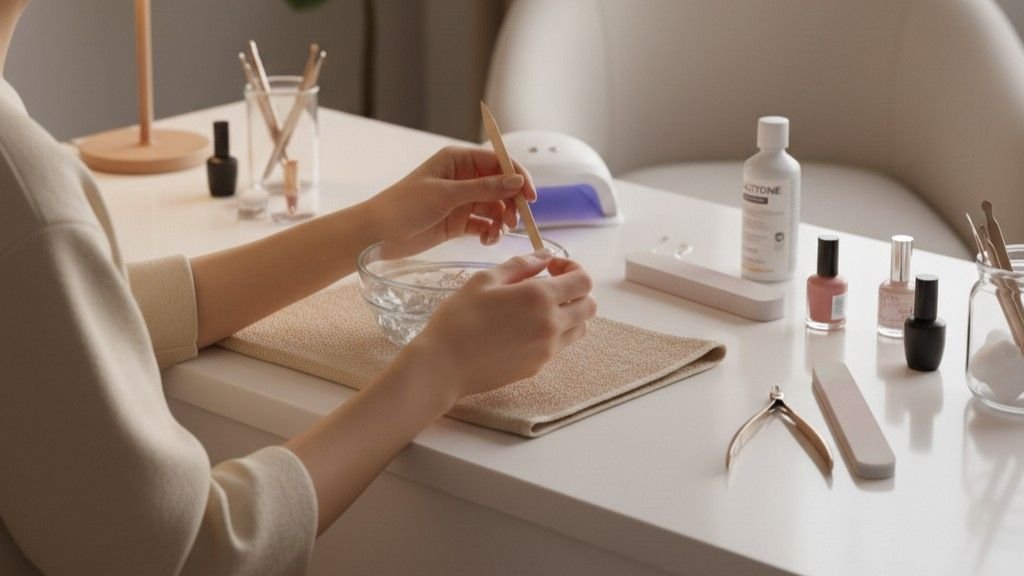
Step 2: Soak in Acetone
Method A: Foil Wraps
For the classic acetone soak method, soak cotton balls in 100% acetone, and place them on each nail. Wrap each finger tightly with aluminum foil to secure the cotton balls in place. Let the acetone work its magic for about 15–20 minutes. This method helps break down the gel, softening it for easy removal.
Method B: The Baggy Method
If you’re looking for a quicker removal process, try the baggy method. Soak a paper towel in acetone and add a teaspoon of oil (like olive oil or cuticle oil) to the towel. Place it inside a zip-top bag and dip your fingers into the bag, ensuring they’re fully submerged. Next, place the bag in a bowl of warm water for 10–15 minutes. The heat helps accelerate the removal process, making it faster and more effective.
Step 3: Gently Scrape and Buff
After soaking, check your nails. The polygel should start to lift or loosen around the edges. Use an orange wood stick or a wooden cuticle pusher to gently push the softened gel off your nails. Be gentle—never force or peel the product off, as this can pull layers of your natural nail with it, causing damage.
If there’s any residue left, grab a fine-grit buffer (240 grit) and gently buff the surface to smooth out any remaining small bits of gel. Take your time with this step to safely file your nails.
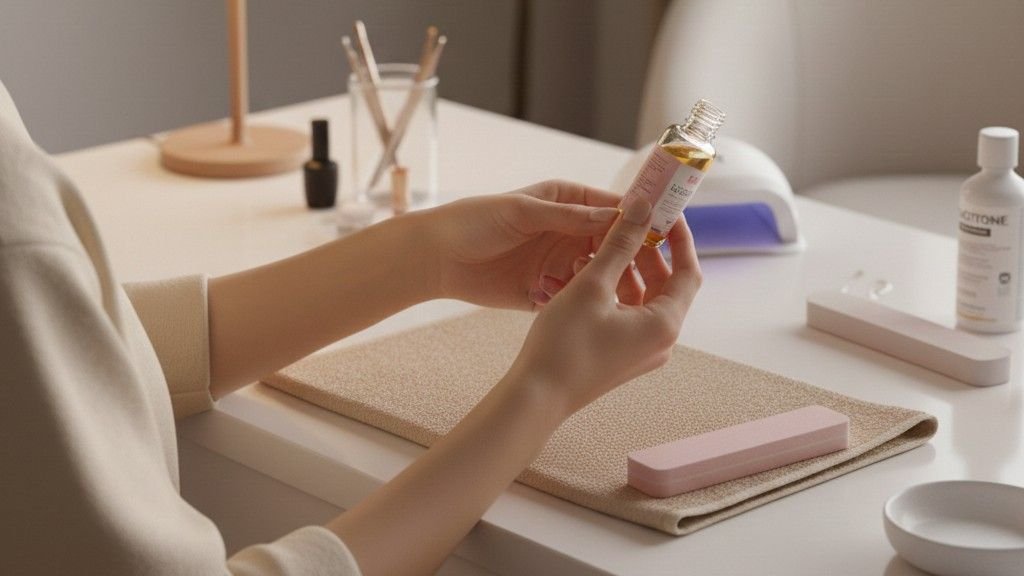
Step 4: Post-Removal Care
After the removal process, your nails may feel a little dry or brittle, especially because acetone can be harsh on your nail beds. Immediately wash your hands to remove any leftover acetone, and then apply a generous amount of cuticle oil and hand cream to restore moisture. Hydrating your nails and cuticles is essential to keeping them healthy after the removal process. I always make sure to use cuticle oil to help my nails recover and stay strong.
How Can You Avoid Damage While Removing Polygel Nails?
Polygel nails are great for their durability, but removing them improperly can lead to damage. Here’s how to avoid it:
1. Don’t Peel the Gel
While it might be tempting to peel off your polygel nails, resist the urge! Peeling can damage your natural nails by stripping off layers of the nail bed. Always use acetone and gentle scraping methods.
2. Use Pure Acetone
For the best results, make sure you’re using 100% acetone. Other removers may not be as effective, and they can take longer to break down the polygel.
3. Take Your Time
Don’t rush the process. Give your nails plenty of time to soak in acetone, and use gentle pressure when scraping off the gel. Forcing it off can lead to nail breakage.
4. Hydrate After Removal
Acetone dries out your nails, so it’s important to hydrate them afterward. Use a rich cuticle oil and hand lotion to keep your nails and skin nourished.
Frequently Asked Questions
1. Can I Remove Polygel Nails Without Acetone?
It’s possible to remove polygel nails without acetone, but acetone is the fastest and most effective method. If you prefer not to use acetone, you can try using a gel remover, but it may take longer. Some people also use the heat baggy method with warm water and oil, but acetone works best for quicker results.
2. How Long Does It Take to Remove Polygel Nails?
The entire process of removing polygel nails usually takes about 30-45 minutes. This includes trimming the length, soaking, scraping off the gel, and finishing with post-care. The soak time typically lasts around 15-20 minutes, but the exact time may vary depending on the thickness of your polygel.
3. What Should I Do If My Polygel Nails Don’t Soften After Soaking?
If your polygel nails don’t soften after 20 minutes of soaking, don’t panic! Just continue gently filing the surface of the gel. The acetone may need a little more time to break it down. Be patient and avoid forcing the product off, as that can lead to damage. You can also reapply the acetone and soak for a bit longer if necessary.
You’re Ready to Remove Polygel Nails Like a Pro!
And there you have it! Removing polygel nails at home is totally doable, and with the right tools and techniques, you can do it without damaging your natural nails. It’s all about being patient, using the right products, and taking care of your nails afterward. So, the next time you need to remove your polygel nails, you’ll be armed with the knowledge to do it safely and effectively.
Pro tip: If you’re doing this often, it might be worth investing in a professional nail kit to make the removal process even smoother. And remember, always show your nails some love afterward—hydration is key!