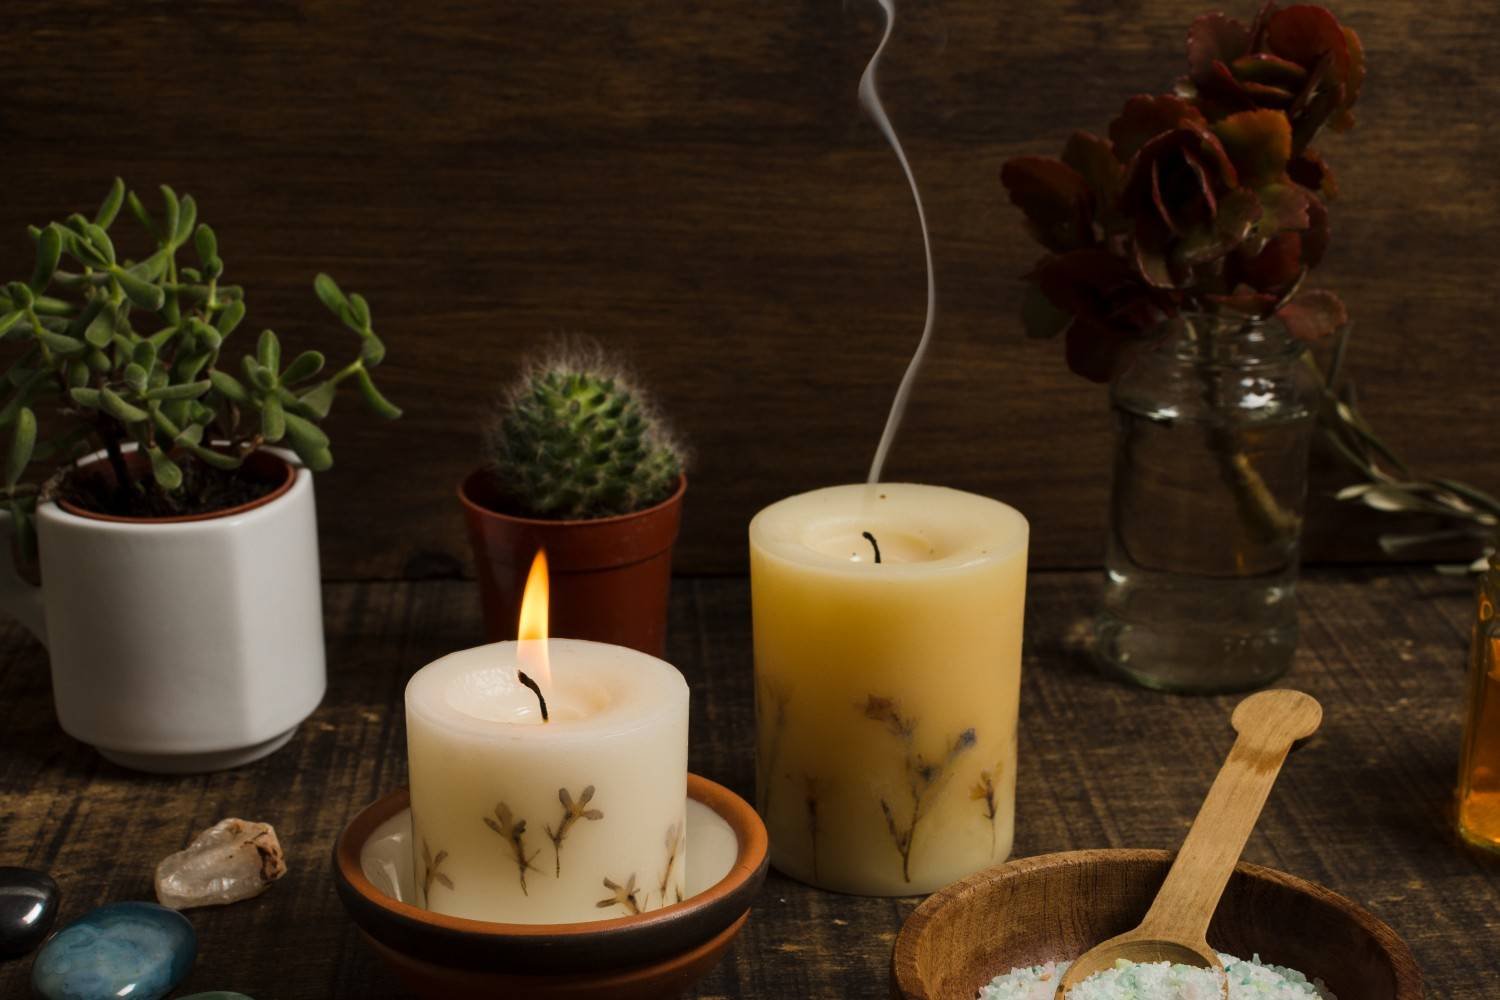
Making your own candles is a creative and enjoyable pastime that lets you add distinctive colors, designs, and aromas to your house. This article will take you step-by-step through the process of making a candle, regardless of whether you’re a do-it-yourself enthusiast or simply seeking a new pastime.
This book offers everything you need to make the ideal candle, from assembling your materials to resolving typical problems. Now let’s get started!
What You’ll Need to Make Candles
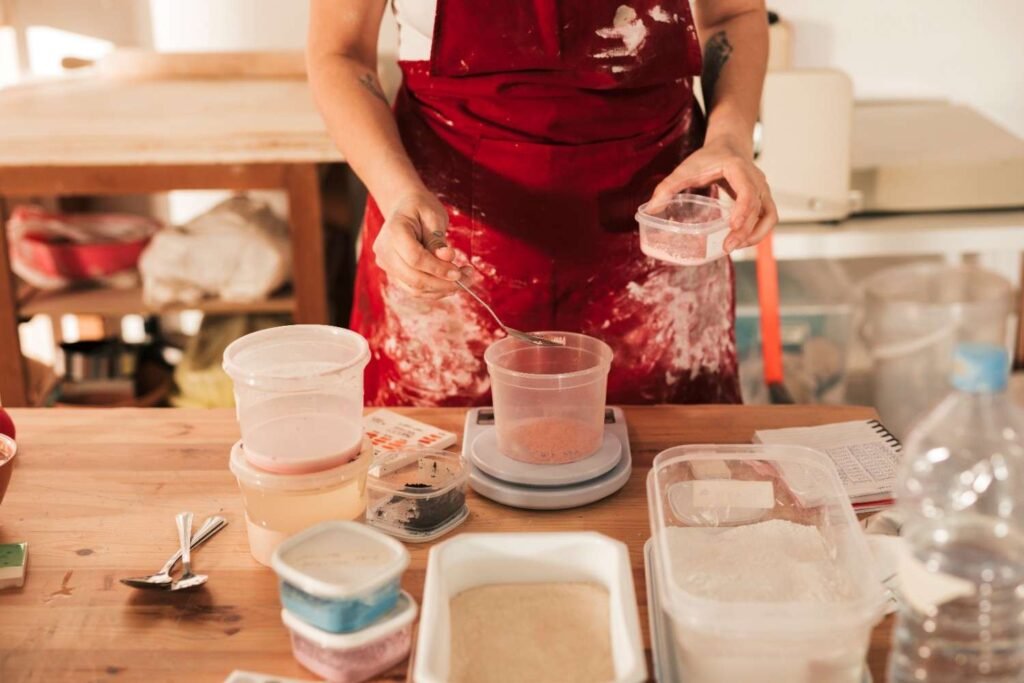
Before you start, it’s essential to gather all the necessary supplies. Here’s a list of basic materials for making candles:
Essential Supplies:
- Wax: You can choose from various types of wax depending on your preference. Common options include:
- Soy Wax: Clean-burning, beginner-friendly, and great for making scented candles.
- Beeswax: Natural with a honey scent; perfect for those seeking eco-friendly options.
- Paraffin wax: Traditional and inexpensive, but it’s not as eco-friendly.
- Wicks: Choose the appropriate wick size for your container. Common types are:
- Cotton wicks: Standard for most candles.
- Wooden wicks: Provide a crackling sound and a rustic feel.
- Containers or Molds: You can use anything heat-safe, such as Mason jars, tea cups, or tin cans.
- Fragrance & Color (Optional):
- Fragrance oils or essential oils (approximately 6–10% of wax weight) for scent.
- Dye blocks or non-toxic crayons for adding color.
- Equipment: You’ll also need a double boiler, a thermometer, a stirring utensil, and wick holders (like clothespins or pencils).
Step-by-Step Instructions for Making Candles
1. Prepare the Container
Clean and dry your container thoroughly. Secure the wick’s metal base to the bottom of the container using a wick sticker or a drop of hot wax. This keeps the wick centered while the wax sets.
2. Measure and Melt the Wax
Weigh your wax using a scale (you’ll need about 2 containers worth per candle). Melt the wax in a double boiler over medium heat. Stir occasionally and monitor the temperature closely.
Ideal Wax Temperatures:
- Melt the wax until it reaches around 185°F (85°C). This is the optimal temperature for adding fragrance and color.
3. Add Fragrance and Color
Once the wax is fully melted, remove it from heat and add your fragrance oil. Stir it in for about 2 minutes to ensure the fragrance is evenly distributed. For colored candles, add wax dye or pieces of non-toxic crayon for a vibrant finish.
Pro Tip: Adding fragrance at the right temperature is crucial for the scent to set well. Aim for around 185°F (85°C) when adding scent.
4. Cool and Pour
Let the wax cool slightly to around 135°F–170°F, depending on your wax type. This helps prevent cracks and ensures the wax sets smoothly in your container.
Slowly pour the wax into the container, ensuring the wick remains centered. Leave a small gap at the top to avoid spilling.
5. Secure the Wick
To keep the wick centered while the wax hardens, place a clothespin or wick holder across the top of the jar. This will keep the wick in place and prevent it from tilting.
6. Cure and Trim the Wick
Allow the candle to sit undisturbed for at least 24 hours (some waxes, like beeswax, take longer to set). Once the candle is fully hardened, trim the wick to about ¼ inch above the wax surface.
Troubleshooting Candle-Making Mistakes

Even with the best materials, candle-making can sometimes go awry. Here are some common mistakes and how to avoid them:
1. Candle Tops Are Uneven or Have Cracks
- Solution: This happens if the wax cools too quickly or is poured at too high a temperature. Always wait for the wax to cool to around 135°F before pouring, and avoid pouring when the wax is too hot.
2. The Wick Is Too Small
- Solution: If your wick is too small, the candle may burn unevenly, or the flame may be too weak. Be sure to choose the correct wick size for your container and wax type.
3. Weak Scent Throw
- Solution: If your candle lacks fragrance, you may not have added enough scent oil, or it may not have been added at the right temperature. Stick to the 6-10% fragrance load and add fragrance at 185°F for best results.
Safety Tips When Making Candles
- Never melt wax over an open flame. Always use a double boiler or a heat-safe bowl to avoid fire hazards.
- Work in a well-ventilated area to avoid inhaling fumes from fragrances or dyes.
- Do not pour wax down the drain, as it can clog pipes. Wipe out your melting container with a paper towel while it’s still warm.
Frequently Asked Questions (FAQs)
1. How Do I Make My Candle Burn Evenly?
The key to an even burn is using the correct wick size. Always trim the wick to ¼ inch before each burn. This ensures the wax melts evenly and prevents tunneling.
2. Can I Reuse Old Candle Jars for New Candles?
Yes! Reusing old jars is an eco-friendly option. Just be sure to clean them thoroughly before adding new wax, as any leftover wax residue can affect the quality of your new candle.
3. What’s the Best Wax for Beginners?
Soy wax is a popular choice for beginners because it’s easy to work with, burns cleanly, and holds fragrance well. It’s also eco-friendly, making it a great option for those looking for a natural alternative.
Creating Beautiful Candles at Home
Creating your own candles is a creative and rewarding process that lets you personalize your designs, colors, and scents. These easy procedures will help you make lovely, useful candles, whether you’re making them for your house, yourself, or as presents for loved ones.
Now that you know exactly how to create candles, you may customize them to fit any event or style.